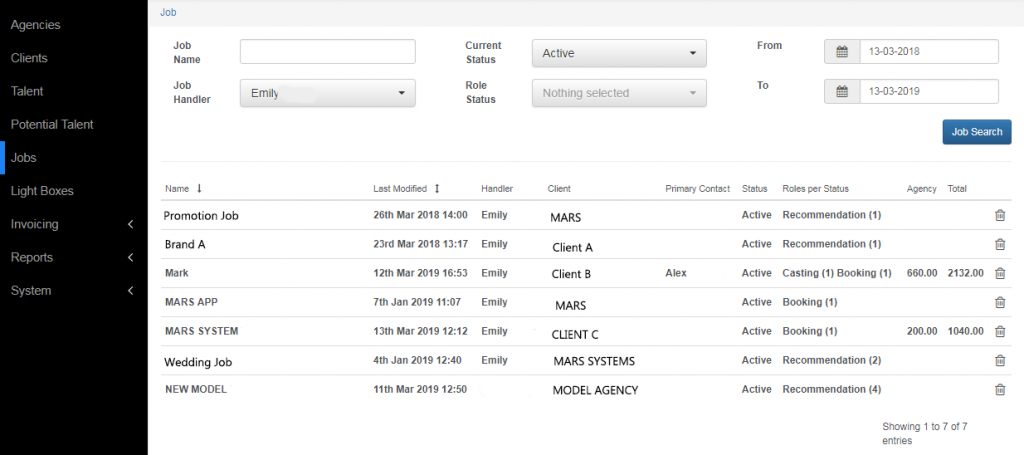
JOB SEARCHING:
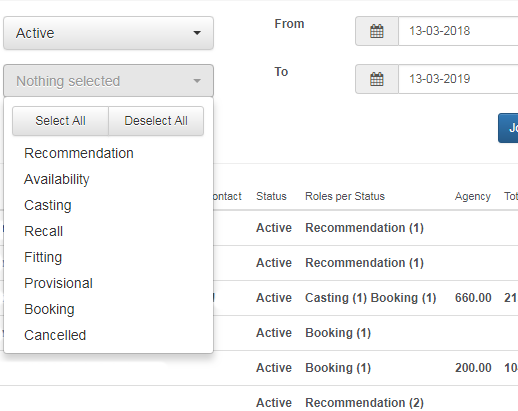
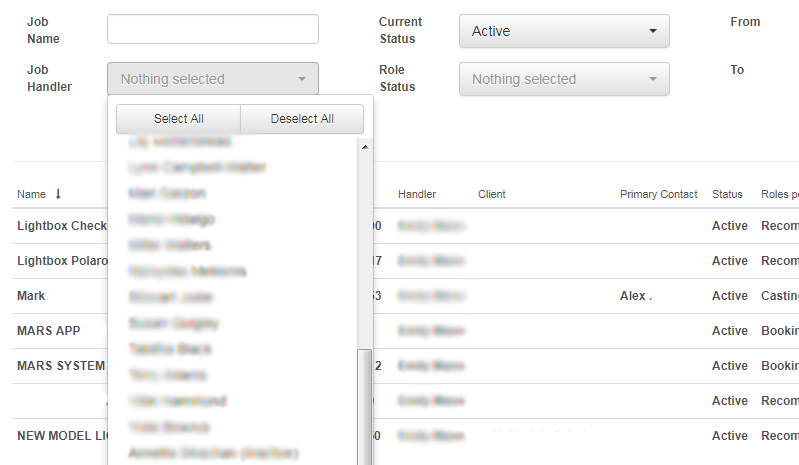
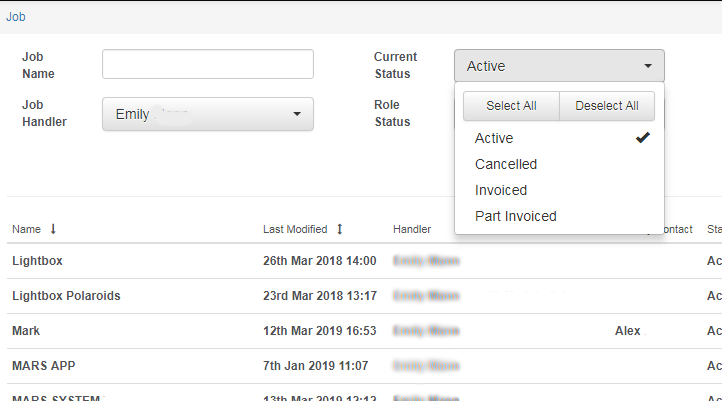
MARS keeps record of ALL jobs that are added onto the system. Each agent can create and view jobs. You can keep track of job history and search jobs by account handler, active, cancelled, invoiced or part invoiced.
How To Create Jobs

POST JOB:
To post a job you need to click Post Job. At this point a client may have sent you a brief or job details and you are ready to create a job on the system. It is important to have added the client onto the CLIENTS section first before posting a job.
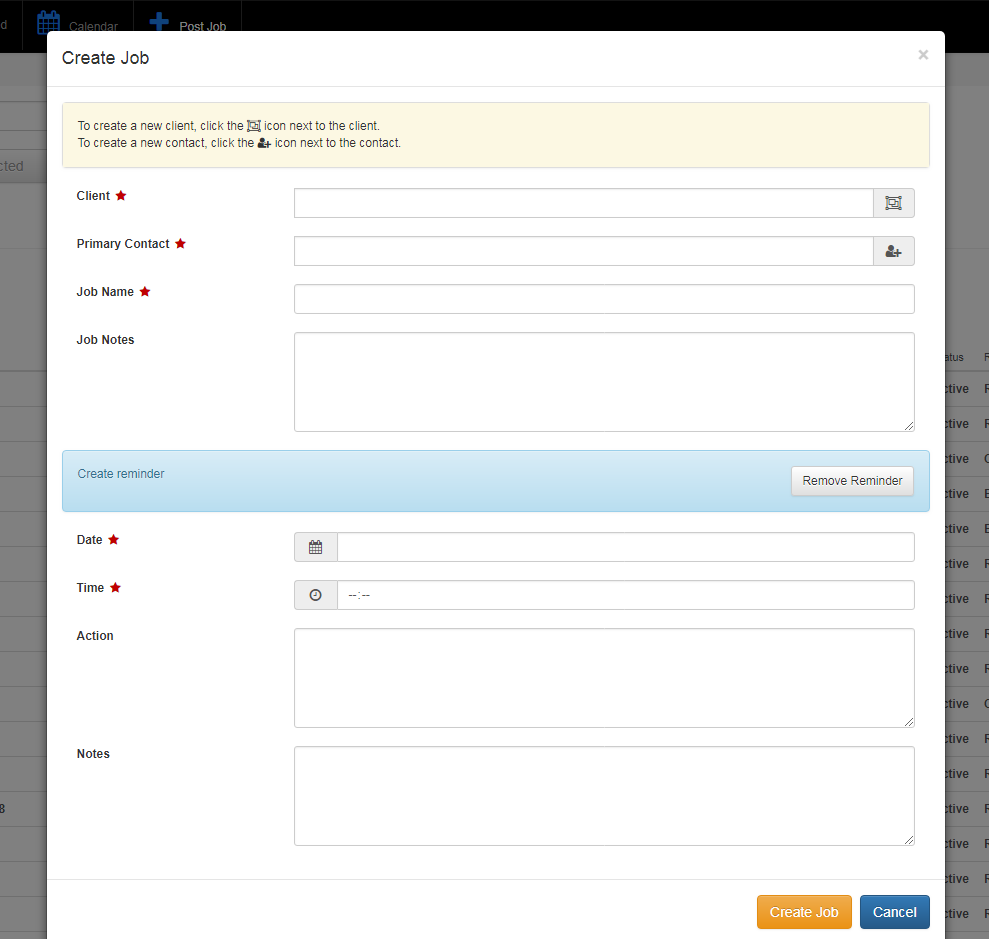
CREATE JOB:
The picture on the right shows the first stage of creating a job. You need to fill in client details, the primary contact, job name, job notes and reminders (optional). The client’s details MUST be added in the CLIENTS section.
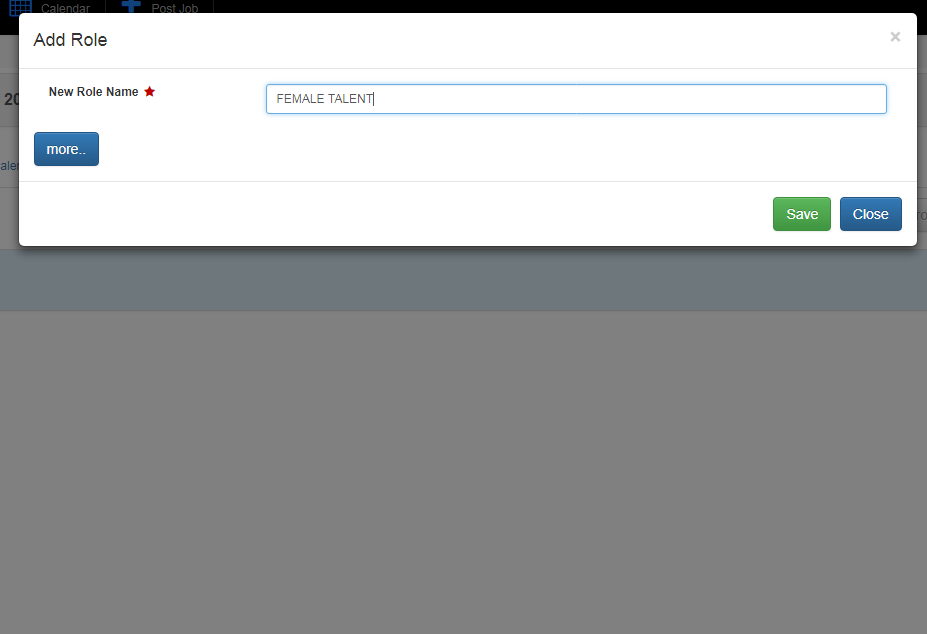
ADD ROLES:
Once you have added in the basic client and job details and saved, MARS will direct you to add role. You can add as many roles are you like depending on the brief given to you.
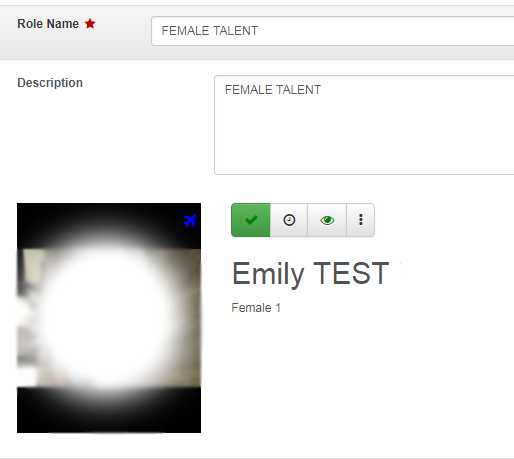
SELECTING TALENTS FOR ROLES:
You have now saved your role and MARS will automatically navigate to all your talents where you can select the talents you need for the particular role. MARS helps you filter – SO the client needs someone who speaks Spanish – You click Add Attribute and select language then Spanish (you will have added all the talent’s information in TALENTS).
Here you can check their availability (their calendar) to see if they have been booked out (for holidays or not available) before you add them on a job. To select the talent to the role, you click on the button [ + ]. This will turn blue when you have selected them so you are not selecting them again. You can select multiple talent for the role!!

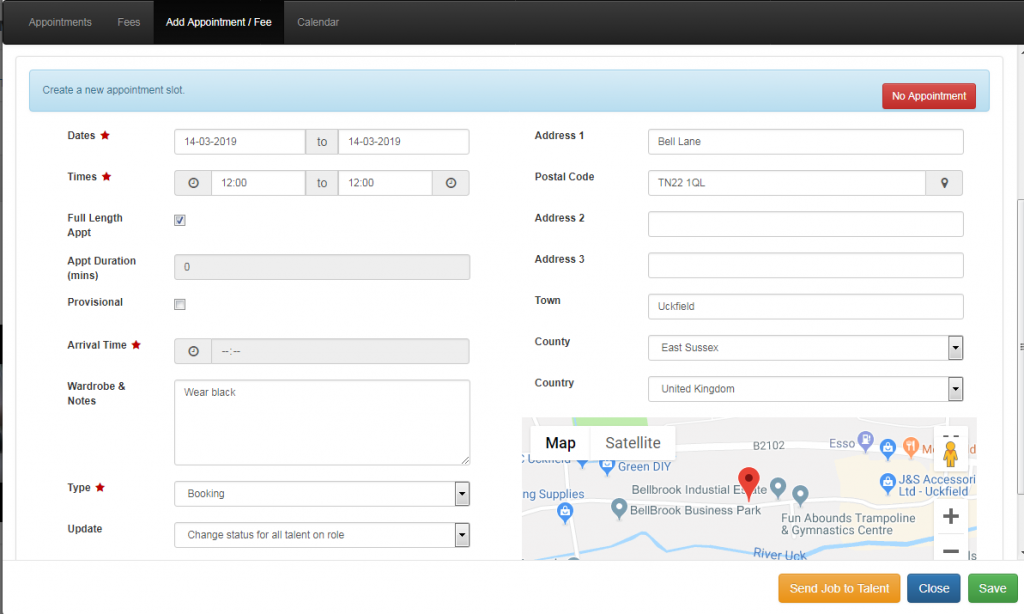
ADD APPOINTMENT:
Add all the information about the date and time to the appointment section. You can do this for each individual talent or if all the talents are the same time then select Change status for all talent on role.
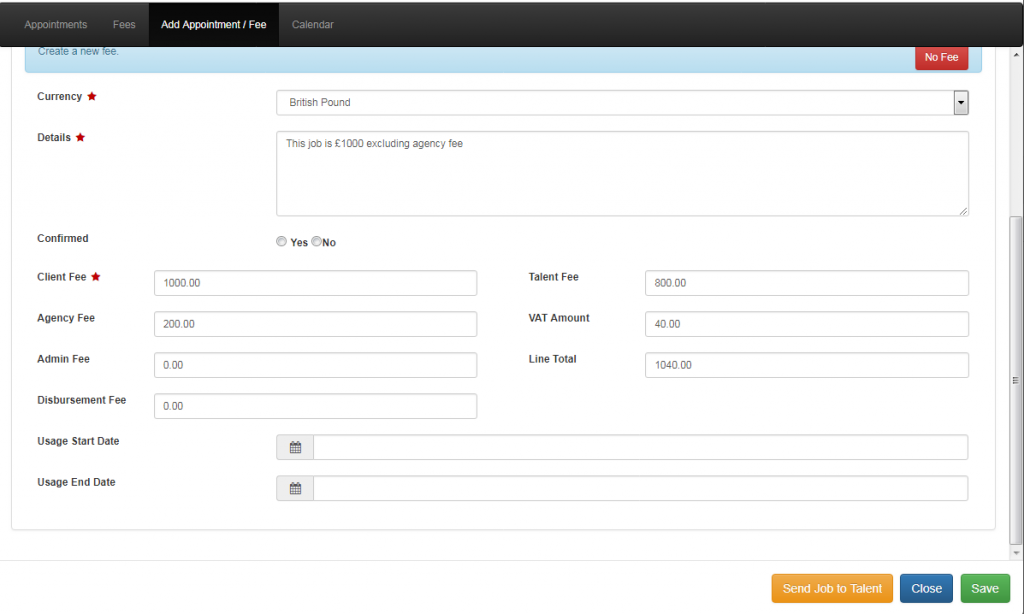
ADD FEE:
This is very important for invoice purposes. MARS is GREAT because it’s simple – especially when it comes to payments and invoices. All you need to do is add in the fees, it’s already broken down into client fee (how much the client is offering for the job), agency fee (e.g. if you are a modelling agency, what’s the commission rate taken from the model), admin fee and disbursement fee.
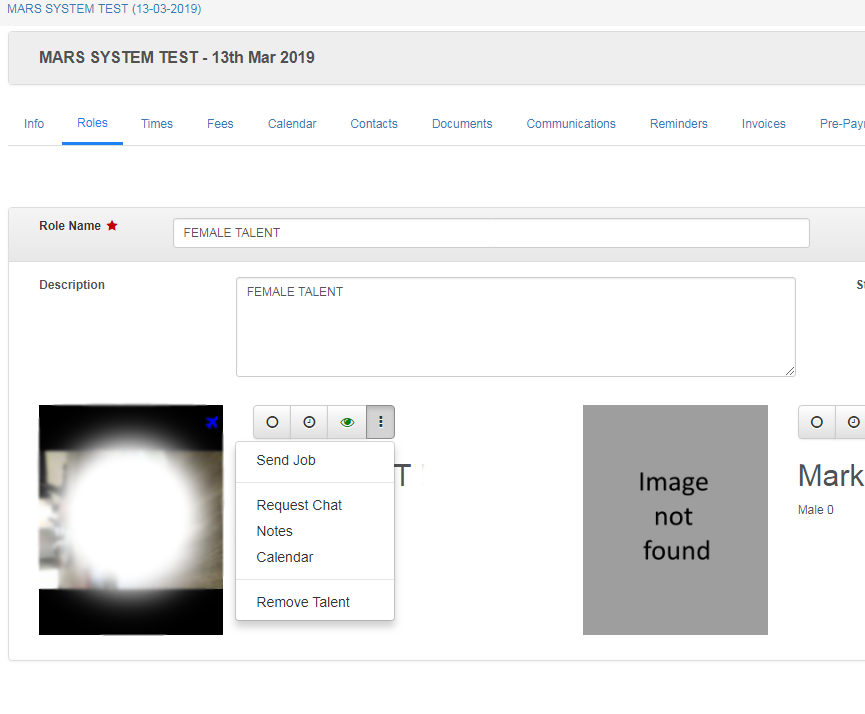
SENDING JOB TO TALENT VIA APP:
The talent is ready to receive all the job information. By clicking on the 3 DOTS you can SEND JOB to the talent. The talent will receive a notification on their lock screen on their phone (they must have the app).
This is one of the best feature because the app simplifies everything for you and the talent. The talent can chat to you directly from their app. You can send them messages for quicker response – as we know not everyone replies to emails quickl
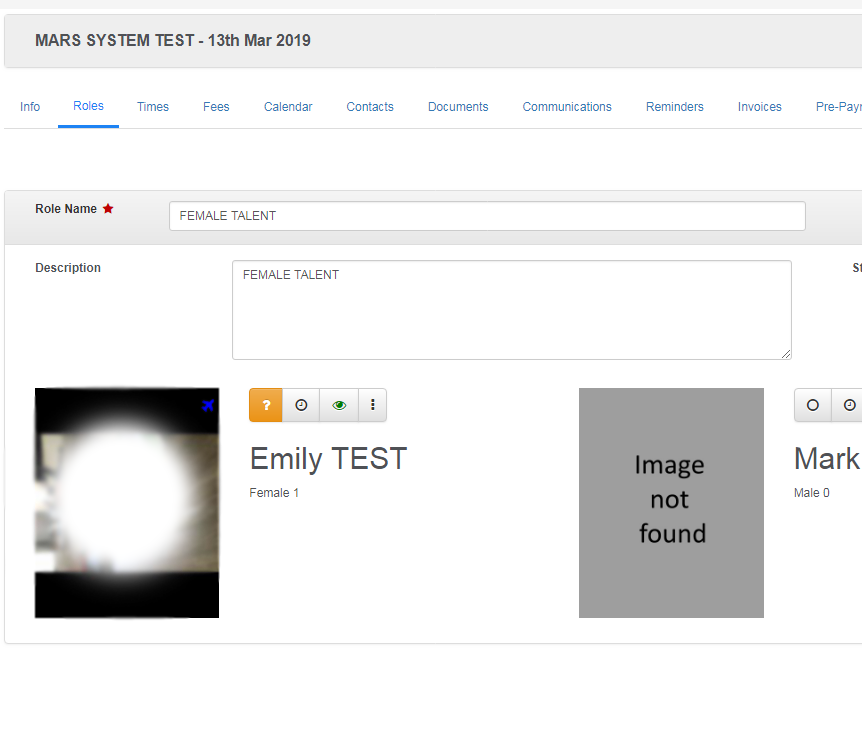
WAITING FOR RESPONSE:
A orange question mark will appear once the job has been sent to the talent. This means you are waiting for a response – the talent has not made a decision to accept or decline the job yet. This is EXTREMELY helpful because you will know that you have sent them the job and know who you need to chase.
The talent should now be reading all the information about the job details (in which you have added in appointment and fees) – the more details you add the more the talent can understand the job
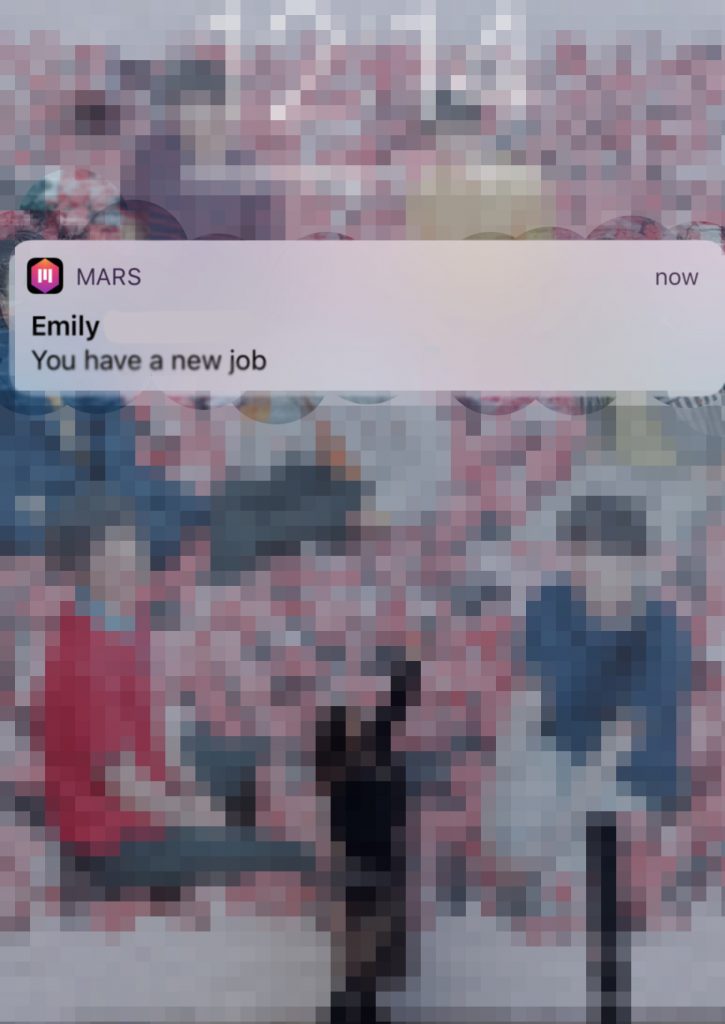
JOBS SENT TO TALENTS:
Talent gets notified about the job. If they ACCEPT you will see a GREEN tick. If DELCINE you will see a RED cross. If you change any details about the job along the way, the talent will get a notification saying that the job has been updated e.g. if the location of the job has been changed, the date has been postponed or if the job has been cancelled.